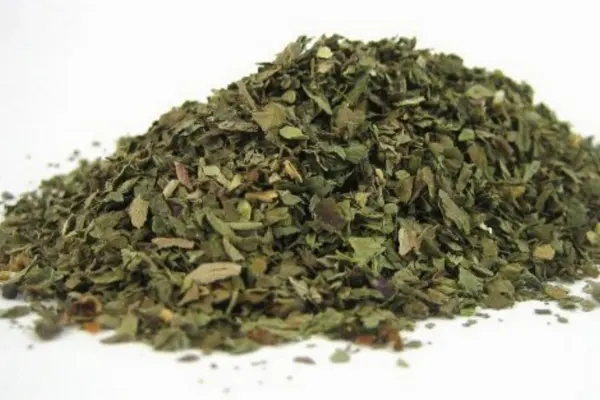
Culinary herbs are one of the most important components in any chef’s arsenal, and basil is no different.
If you’re looking for a fresh, unique flavor with a wide variety of applications, you can’t go wrong with this herb.
This article will discuss how to preserve basil and its subtle flavors, so it lasts longer.
How To Dry Basil: Methods Of Drying Basil
1) Air-Drying
This is the cheapest way to dry basil leaves because it requires the least amount of time and equipment.
The leaves need only be dried on paper towels or newspaper for up to 48 hours before being used in any recipe that calls for dried basil leaves.
Drying basil leaves this way requires a lot of patience because the leaves take up a lot of room quickly. The longer you wait, the better your basil will be.
2) Dehydrator Drying
Dehydrators work well for drying herbs; you can use them to dry any herb from stem to leaf.
A dehydrator can also function as a food dehydrator if you have one that travels in your car or comes with an insulated cooler to store your food in between uses.
The herb is picked and trimmed just like air-dried basil before being dried in the dehydrator on medium heat (around 115 degrees).

3) Oven Drying
Oven drying is the most popular and effective way to dry herbs. It requires a lot of time and care and must be done in a low-heat setting, so the herb flavors do not evaporate before they are dried.
Herbs are cut or torn into smaller pieces, spread out evenly on a baking sheet, and heated in the oven for anywhere from 30-60 minutes at around 100 degrees.
4) Microwave Drying
This is one of the fastest ways to dry herbs because you can use the microwave to dry them instead of having to wait for them to dry on their own if using air drying or oven drying.
Microwave drying works well for herbs that aren’t wet or so porous they’ll rip and tear in the sun. That being said, the flavor of herbs that are left with a bit of water can be lost during the microwave drying process.
It’s best to remove any excess moisture from your herbs before drying them through microwaving.
Tips For Successful Drying
1. Drying Times
Before drying your herbs, it’s important to know how long you will be waiting for them to dry before being used in your recipe.
The time it takes will vary depending on a variety of factors, such as the herb’s size, how many parts you’re drying at once, and what part of the herb you’re looking at.
Additionally, different herbs will dry at different rates. In general, drying herbs in the sun will take longer than drying them in an oven or dehydrator.
2. Choosing A Drying Container
When you’re choosing a container for drying herbs, make sure it’s large enough to hold all of your herbs. The container should allow the herbs to dry undisturbed for about 6 weeks or more because the air currents in an oven are not ideal for drying herbs.
A thick-walled glass jar that has been around since World War II works great because it will keep out moisture and allow the herbs in your jar to dry evenly throughout the entire inside.
3. Removing Water
If you’re drying your herbs with water in them, make sure to drain out the excess water with a cheesecloth or thick tea towel before drying so there’s less of a chance your herbs will mildew.
4. Protecting From Debris
If you’re taking your dried herbs outside to dry, it’s always a good idea to protect them from debris by enclosing them in a mesh screen or cup, so they don’t get blown away by wind or eaten by critters.
Conclusion
Making sure you fully understand the process of how to keep your herbs from spoiling is one way to ensure that you’ll be able to enjoy fresh basil even in the off-season.
- Homemade Fajita Seasoning Recipe - December 21, 2024
- Crispy Roasted Asparagus With Parmesan Cheese Recipe - December 20, 2024
- Italian Bruschetta Recipe With Balsamic Glaze And Parmesan - December 19, 2024
